
Fix it with Steph is a series where Habitat Orlando & Osceola staff member Steph takes us along on her journey to master home improvement projects big and small.
If I can do it, anyone can!
You know those home maintenance tasks that sit on your to-do list forever? Well, this was mine. I even bought a dryer vent cleaning kit… in March of 2021. Yes, four years ago! So, when I saw this month’s tip was dryer vent cleaning, I knew it was finally time to tackle it. Here’s how it went:
The Plan
🕒 Estimated Time: 1.5 hours ⚙️ Estimated Difficulty (1-5): 3
Getting Started
Like any good DIYer, I started by watching a 16-minute YouTube tutorial from @AmplifyDIY (highly recommend!). Then, I gathered my supplies:
✔️ Dryer vent cleaning kit (finally opened after four years) ✔️ Screwdriver ✔️ Power drill ✔️ Electrical tape (which I didn’t even need) ✔️ Shop Vac
Step-by-Step: Cleaning the Vent
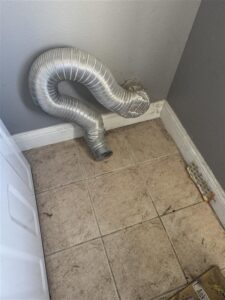
1️⃣ Move the Dryer – Pulled it away from the wall, unplugged it, and accessed the vent. Sadly, no hidden treasure—just dust, lint, an old rag, and a candy wrapper.
2️⃣ Detach the Hose – Unscrewed the fastener holding the hose to both the dryer and the wall. Easy!
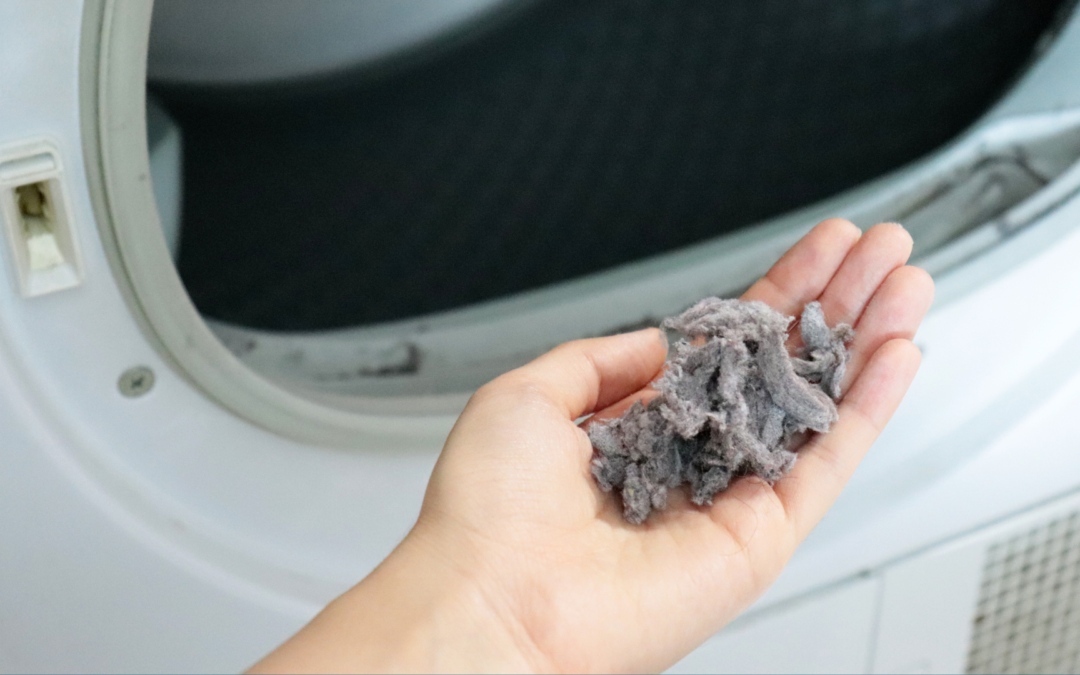
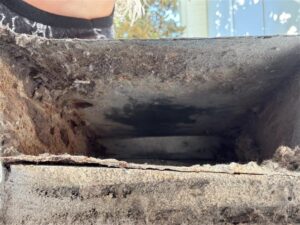
3️⃣ Inspect the Mess – Let’s just say… it was gross. Not as bad as I feared, but still a lint-packed fire hazard.
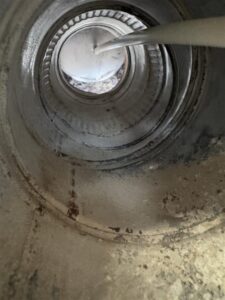
4️⃣ Clean the Indoor Vent – Attached the first rod of the cleaning kit to my drill, placed the Shop Vac on the vent, and got to work. The brushing and vacuuming took 30 seconds!
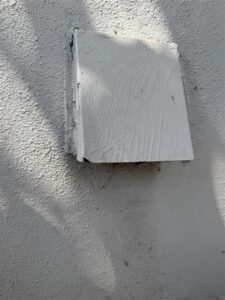
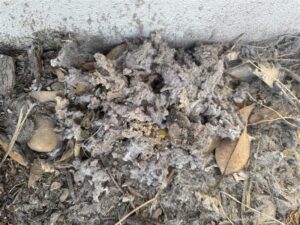
5️⃣ Check & Clean the Outside Vent – Used my phone as a mirror (no critters, thankfully), then removed all the built-up lint by hand, screwdriver, and gloves.
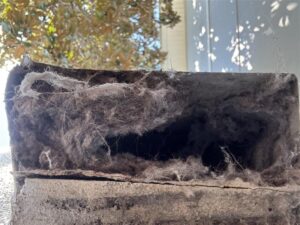
The final pile? Huge.
The Results
🕒 Actual Time: 30 minutes
⚙️ Difficulty (1-5): 1
🔥 Final Verdict: My dryer is now a lot safer, and I can finally cross this off my list!
What should we tackle next month?
Recent Comments