Fix it with Steph is a series where Habitat Orlando & Osceola staff member Steph takes us along on her journey to master home improvement projects big and small.
I watched dozens of YouTube tutorials, read through the manufacturer’s manual, and even consulted a handyman. Every single source said the same thing: your water heater should be flushed at least once a year to prevent sediment buildup, extend its lifespan, and keep it running efficiently. They all walked me through some variation of the steps I’ve listed below.
And then I stood in front of my water heater with the tools in hand…and chickened out. Between the valves, the power source, and the very real fear of doing something wrong, I decided not to risk it. Instead, I called a professional and watched how the expert handled it from start to finish.
Here is how a professional flushes a water heater:
- Turn off the power at the breaker box. This step is non-negotiable for electric water heaters and must be done before any water is drained.
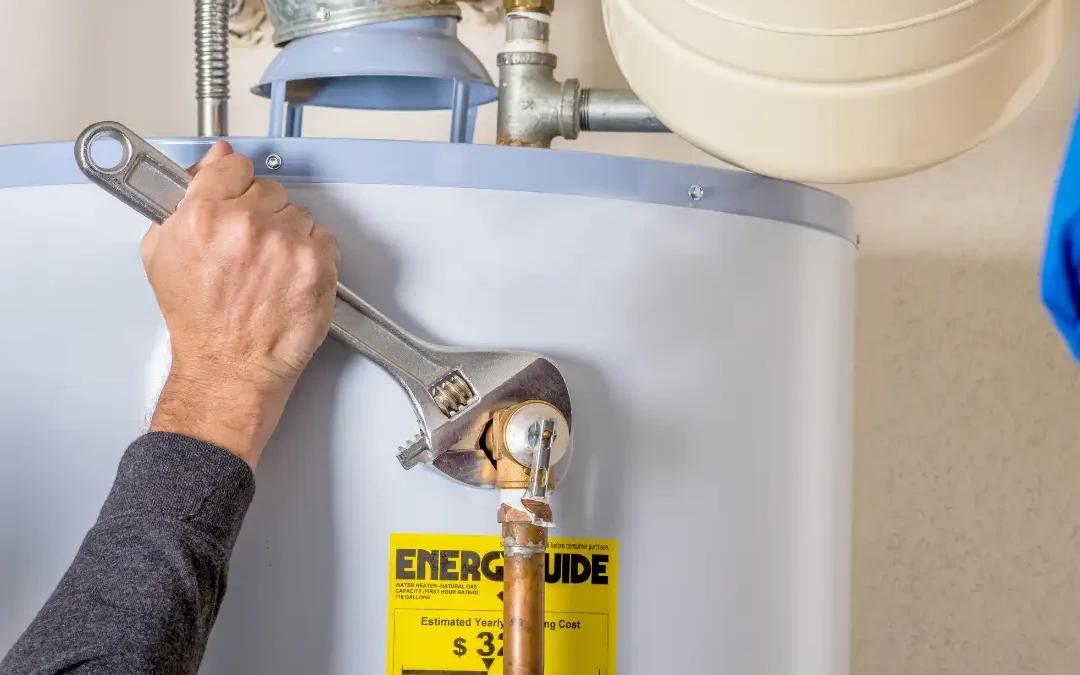
- Shut off the cold-water supply to the tank. The cold-water shutoff valve is usually found on the pipe feeding into the top of the tank. In some homes, it may be located a short distance above the unit or along the supply line leading to it. This stops new water from entering the unit during the flush.
- Open the pressure relief air valve at the top of the tank. This allows air into the system so the tank can drain properly and prevents vacuum lock.
- Attach a garden hose to the drain valve near the bottom. Run the hose to a safe drainage location, such as a floor drain, driveway, or area of yard away from the foundation.
- Slowly open the drain valve and allow the tank to empty. Sediment, mineral buildup, and cloudy water are all normal and exactly what you want to flush out.
- Flush until the water runs clear. The professional briefly reopened the cold-water supply to stir up remaining sediment, then drained the tank again. He did this about three times.
- Once draining has ended, open a hot water faucet inside the house. Leave it open until the air stops sputtering. This further relieves pressure and helps the tank drain more efficiently.
- Close the drain valve and remove the hose. Make sure the valve is fully closed before moving on.
- Close the pressure relief valve and turn the cold-water supply back on. Allow the tank to refill completely.
- Restore power at the breaker box. Only turn the power back on once the tank is completely full to avoid damaging the heating elements.
- Know when to call a professional. If a valve is stuck, leaking, or you feel unsure at any point, stopping and calling a pro is always the right move.
Flushing your water heater is one of those easy to forget tasks that doesn’t feel urgent—until it suddenly is. Staying on schedule with water heater flushes, whether DIY or done by a pro, can help keep things running smoothly and prevent bigger issues down the road.